Identity and Access Management User's Guide
Employee Misconduct Registry
Supvervisor Approval
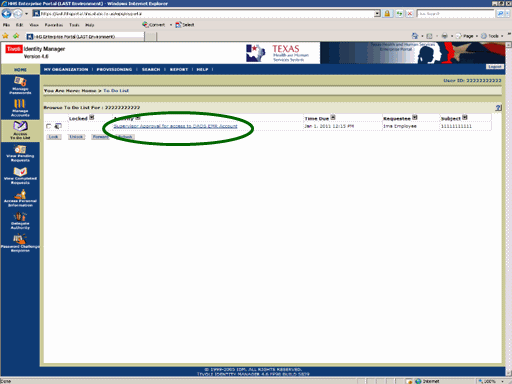
Figure 1. ITIM TO DO List.
1. The process begins when you receive notification that a request for access has been made.
2. Open a browser window, navigate to the Enterprise Portal, and Login to ITIM (for instructions click here.)
3. Select the Supervisor Approval for access to DADS EMR Account link as shown in the circle at left.
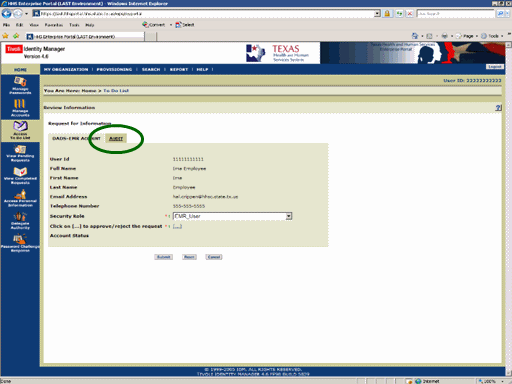
Figure 2. Request for Information Page.
4. Select the Audit tab as shown in the circle at left.
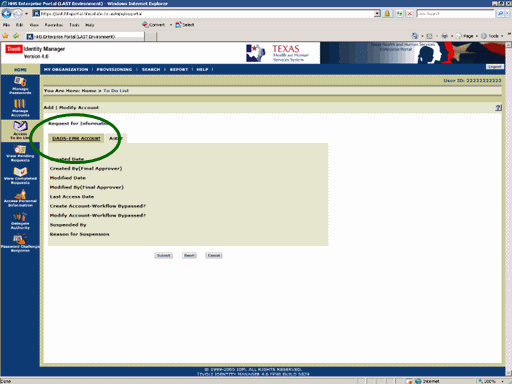
Figure 3. The Audit Page.
5. Review the Audit Information.
6. Select the DADS-EMR Account tab as shown in the circle at left.
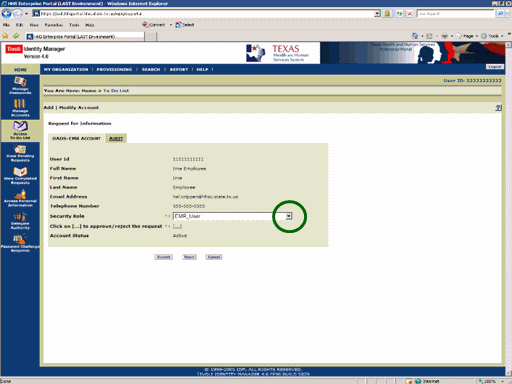
Figure 4. Request for Information Page.
7. Expand the Security Role list box as shown in the circle at left.
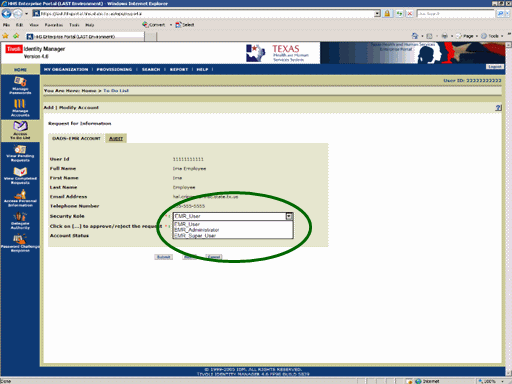
Figure 5. Request for Information Page.
8. Select the appropriate Security Role as shown in the circle at left.
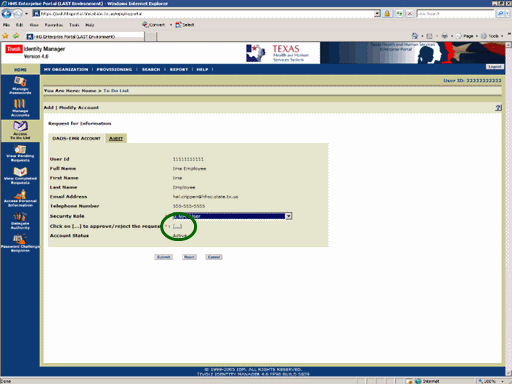
Figure 6. The Request for Information Page.
9. Select the Approve/Reject [...] link as shown in the circle at left.
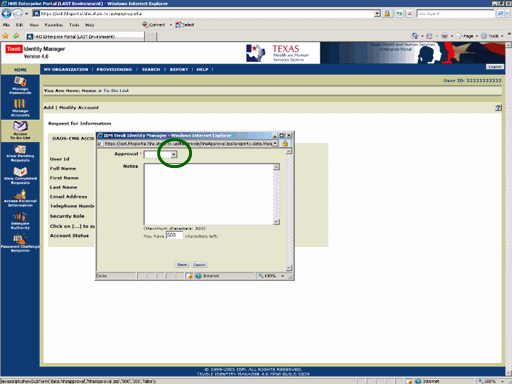
Figure 7. The Request Disposition Window.
10. Expand the Approval list box as shown in the circle at left.
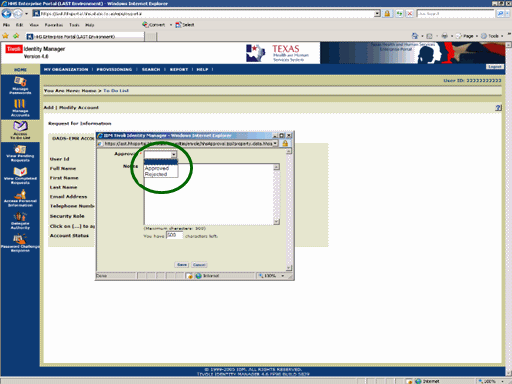
Figure 8. The Request Disposition Window.
11. Select the appropriate Disposition as shown in the circle at left.
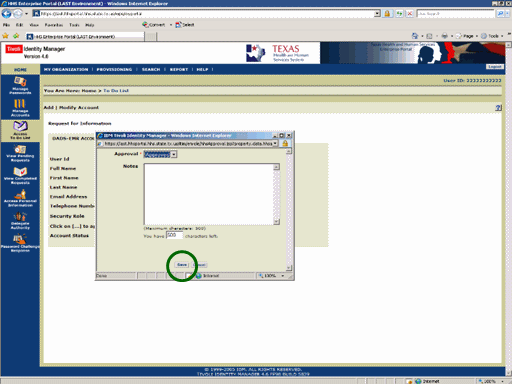
Figure 9. The Request Disposition Window.
12. Select the Save button as shown in the circle at left.
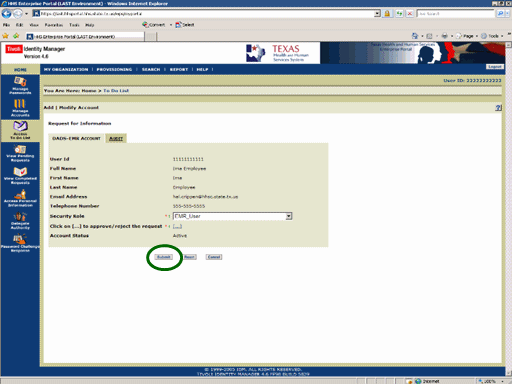
Figure 10. The Request for Information Page.
13. Select the Submit button as shown in the circle at left.
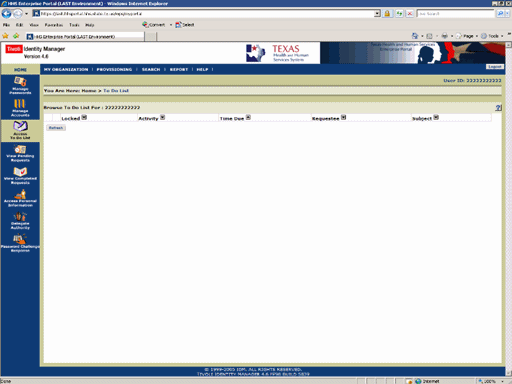
Figure 11. ITIM To Do List.
14. The To Do List re-appears indicating the process is complete. When the Second level Approver has completed the workflow you will receive an informational Email informing you of thier action